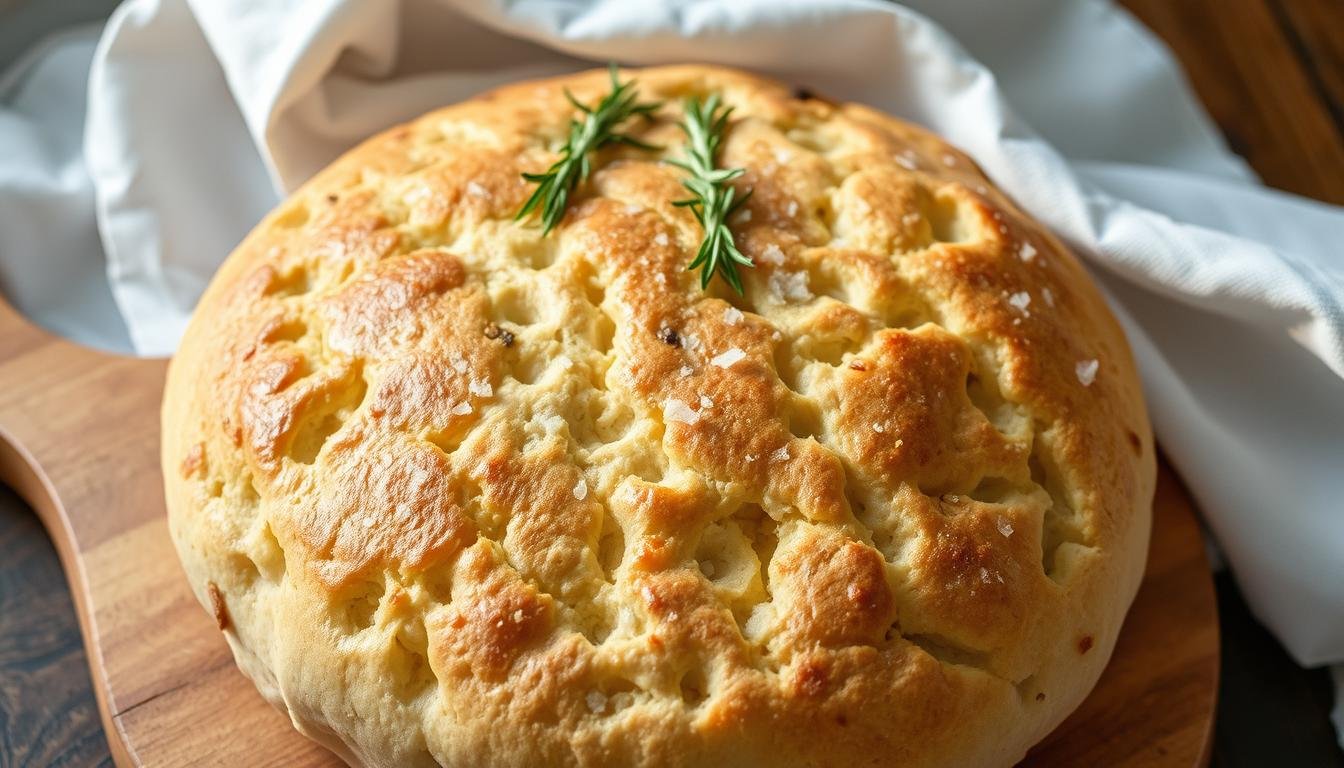
How to Make No-Knead Focaccia + Artistic Topping Ideas
Focaccia Made Simple: Bake Stunning Bread Art at Home
Focaccia Italian flatbread is a canvas for flavor and creativity. With its soft interior and crisp crust, it’s perfect for both beginners and seasoned bakers. The best part? You don’t need advanced skills to make it shine.
Using simple ingredients like flour, yeast, and olive oil, this version skips complicated steps. A slow rise gives the dough depth, while toppings add personality. Whether you prefer herbs or colorful veggies, the options are endless.
Ready to explore? We’ll guide you through a fuss-free method and inspire designs to impress. From rustic to elegant, every slice tells a story.
Key Takeaways
- Versatile Italian flatbread with minimal effort required
- Slow fermentation enhances flavor without overnight waits
- Olive oil creates a golden, crispy crust
- Endless topping combinations for visual appeal
- Perfect for beginners and creative bakers alike
What Is Focaccia Bread?
Liguria’s signature bread combines simplicity with bold Mediterranean flavors. Characterized by its golden crust and airy interior, it’s a timeless favorite. The dimpled surface isn’t just decorative, it holds pools of herb-infused olive oil.
Origins and Traditional Characteristics
This Italian staple dates back to the Etruscans in the 2nd century BCE. By the Roman era, it evolved into the version we know today. Liguria, Italy, perfected it as “classica,” using basic ingredients: flour, water, yeast, salt, and olive oil.
Traditional focaccia is ½” to 1″ thick with a chewy texture. The finger-pressed dimples aren’t just for looks, they ensure even baking and flavor distribution. Unlike pizza dough, it has higher hydration and longer fermentation, yielding a lighter crumb.
Why Focaccia Is Perfect for Beginners
New to baking? This dough forgives mistakes. No precise shaping is needed; just press it into a pan. Proofing times are flexible, and the olive oil prevents sticking.
- Cultural staple: Served as street food or antipasto in Italy.
- Texture control: Bake it soft or crisp by adjusting thickness.
- Minimal tools: Requires just a bowl, pan, and your hands.
No Knead Focaccia Recipe: The Easiest Homemade Bread
This guide breaks down the easiest way to prepare golden, airy flatbread at home. With just five ingredients and patience, you’ll achieve bakery-quality results. The secret? Letting time and yeast do the heavy lifting.
Essential Ingredients for Perfect Focaccia
Flour forms the base. Bread flour (12% protein) creates a chewier crumb, while all-purpose works for a lighter texture. Yeast is your leavening agent; SAF instant yeast skips proofing and blends directly into dry ingredients.
| Ingredient | Role | Tip |
|---|---|---|
| Water (88°F) | Activates yeast | Too hot kills yeast |
| Salt | Controls fermentation | Diamond Crystal dissolves evenly |
| Olive oil | Adds richness | Ligurian EVOO for authenticity |
Step-by-Step No-Knead Instructions
- Mix: Combine flour, yeast, salt, and water in a bowl. Stir until a shaggy dough forms.
- Rest: Cover with plastic wrap. Let rise at room temp for 3 hours or refrigerate for 18–48 hours.
- Shape: Press dough into an oiled 9×13″ pan. Dimple with fingers.
- Bake: At 425°F (218°C) for 25–30 minutes until golden.
Tips for the Best Rise and Texture
Cold fermentation develops gluten slowly, yielding larger air pockets. For a quick alternative, use thawed frozen dough (14–16 Rhodes rolls).
- Visual cues: Dough should double in size with visible bubbles.
- Pan choice: Metal pans have crisp edges; glass retains heat for even baking.
- Storage: Keep unused dough refrigerated up to 3 days.
Creative Focaccia Art Ideas to Elevate Your Bread
Transform your dough into edible masterpieces with these inspiring techniques. From bold geometric patterns to delicate floral arrangements, toppings become your palette. The key? Balancing flavor and visual appeal.
Simple Designs for Beginners
Start with basic shapes using cherry tomatoes, kalamata olives, and fresh herbs. Press ingredients gently into dimples to create polka dots or stripes. Pro tip: Brush veggies with olive oil to prevent burning.
Advanced Topping Arrangements
Layer flavors and textures with mozzarella pearls, crispy pancetta, or roasted peppers. Try spiral patterns or concentric circles for a professional touch. Contrast colors—think purple onions against green basil for wow factor.
Seasonal and Thematic Focaccia Art
Celebrate holidays with wreaths of rosemary or autumn squash mosaics. For spring, arrange radishes and peas into garden scenes. Design stays intact when toppings are pressed lightly before baking.
- Color theory: Pair red peppers with golden potatoes for vibrancy.
- Texture play: Combine soft cheeses with crunchy seeds.
- Themes: Recreate team logos or holiday symbols.
Baking and Serving Your Focaccia
Perfecting the bake ensures a crisp exterior and fluffy interior. This stage brings together all your preparation work, transforming dough into a fragrant, golden delight. Follow these professional techniques for consistent results every time.
How to Achieve a Crispy, Golden Crust
Preheat your oven to 450°F (232°C) for at least 30 minutes. This ensures even heat distribution. Place the rack in the middle position for optimal air circulation.
Generously coat the dough with olive oil before baking. This creates that signature crispness while enhancing flavor. For extra texture, sprinkle coarse salt over the dimples.
| Baking Stage | Visual Cues |
|---|---|
| First 10 minutes | Edges begin pulling from pan |
| 15-20 minutes | Golden-brown dimples form |
| Final check | Internal temp reaches 190°F |
Best Ways to Serve Fresh Focaccia
Enhance warm slices with garlic-infused butter or aged balsamic drizzle. Pro tip: Brush toppings within 5 minutes of removing from the oven for maximum absorption.
Pairing ideas that highlight its versatility:
- Breakfast: With soft cheeses and honey
- Lunch: As slab sandwiches with cured meats
- Dinner: Alongside soups or charcuterie boards
For authentic Italian presentation, cut into rustic squares or tear into shareable portions. Regional variations like Genovese style work beautifully for dipping, while Bari’s thicker cuts suit heartier toppings.
Storing and Reheating Focaccia
Preserve your freshly baked masterpiece with these expert storage solutions. Proper techniques ensure every slice stays as delicious as the first day. Whether you’re saving leftovers or prepping ahead, these methods lock in flavor and texture.
Keeping It Fresh for Days
Short-term storage is simple. Place cooled slices in an airtight container with a paper towel to absorb excess moisture. This trick prevents sogginess while keeping the crust crisp.
For longer freshness, the refrigerator works well. Wrap tightly in foil or plastic to avoid drying out. Consume within 3 days for the best quality.
Reviving Your Flatbread
To reheat, skip the microwave; it turns the crust rubbery. Instead, use a 350°F oven for 7–10 minutes. For single servings, an air fryer at 300°F for 3 minutes restores the original texture.
- Freezing: Slice before freezing, separating layers with parchment paper. Thaw at room temperature for 30 minutes before reheating.
- Stale bread fix: Transform dry slices into bruschetta or croutons. A quick toast revives their crunch.
- Safety check: Discard if you spot mold or detect off smells.
Focaccia Conclusion
Turn your kitchen into an Italian bakery with this versatile flatbread. Simple techniques yield impressive results, whether you’re a beginner or seasoned baker. The dough’s flexibility invites creativity; try herbs, veggies, or cheeses for edible art.
Freeze extra portions for last-minute gatherings. Just thaw, bake, and serve warm. Share your designs online to inspire others!
Hungry for more? Explore sourdough variations next. Every loaf promises golden crusts and endless flavor twists.