How to Master Sous Vide Steak: Tender, Juicy, Foolproof
Sous Vide Steak Made Easy: How to Cook Like a Pro
Sous vide steak delivers juicy, tender cuts that rival your favorite steakhouse, all from the comfort of your kitchen. By using precise temperature control in vacuum-sealed bags, the sous vide method ensures edge-to-edge consistency and takes the guesswork out of traditional cooking. Whether you’re planning a dinner party or preparing meals for the week, this technique fits seamlessly into your schedule and guarantees restaurant-quality results every time.
The secret lies in a two-step process. First, your meat cooks gently in a water bath inside a sealed bag at an exact temperature, ensuring every bite reaches the ideal doneness. Then, a quick sear in a blazing-hot cast iron skillet or grill locks in flavor with a caramelized crust.
Unlike conventional grilling or pan-searing, this method offers unmatched reliability and saves time. You’ll never face overcooked edges or underdone centers again. Plus, timing becomes flexible, finish the first phase early, and serve just before serving for peak freshness.
All you need is a precision cooker and a heavy-duty skillet to replicate professional results. Season simply with salt and pepper, and let the science of heat do the rest.
Introduction to Sous Vide Steak Cooking
Once reserved for high-end restaurants, precision-driven culinary methods now thrive in home kitchens. This shift stems from tools like immersion circulators becoming affordable and user-friendly. At its core, this approach relies on exact temperature control to transform everyday meals into gourmet experiences.
Why Choose Sous Vide for Steak?
Traditional high-heat methods often create uneven results, charred exteriors hiding underdone centers. By contrast, a water bath maintains consistent heat, ensuring every millimeter reaches your preferred doneness. Sealed bags lock in moisture, eliminating the dryness that plagues pan-seared cuts.
Flexibility is another perk. Start the process hours before dinner, then finish with a quick sear. This hands-off style suits hectic schedules while delivering restaurant-quality outcomes.
The Rise of Precision Cooking
Derived from French for “under vacuum,” this technique gained traction as chefs sought foolproof ways to enhance texture and flavor. Home cooks quickly adopted it, drawn by its reliability. Modern devices automate temperature adjustments, making complex tasks as simple as setting a timer.
Communities from food blogs to cooking shows now celebrate their potential. What was once intimidating has become accessible, a testament to how innovation reshapes culinary traditions.
The Science Behind Sous Vide: A Perfect Steak Guide
Precision transforms ordinary meals into extraordinary experiences, nowhere is this clearer than in the science of temperature-controlled cooking. By maintaining exact heat levels, this approach eliminates guesswork while unlocking flavors and textures that traditional methods often miss.
Understanding Temperature & Doneness
Heat directs proteins and enzymes to behave in specific ways. At 120°F, muscle fibers relax gently, while collagen begins breaking down above 130°F. Serious Eats research confirms that water baths hold these reactions at precise stages, ensuring uniform results from edge to center.
For ideal doneness:
- Rare: 125°F (juicy, deep red center)
- Medium-rare: 130°F (balanced tenderness)
- Medium: 140°F (firm texture with pink hues)
- Well-done: 160°F (fully cooked, though less recommended)
J. Kenji López-Alt’s experiments show how extended time in the bath further tenderizes meat without overcooking, a feat impossible with grilling’s erratic heat spikes.
How Sous Vide Enhances Flavor and Texture
Sealed bags trap juices and aromatics, letting flavors meld deeply into the meat. Unlike pan-searing, which evaporates moisture, this method preserves natural succulence. The Maillard reaction, responsible for that crave-worthy crust, is reserved for the final sear, preventing bitter charring.
Enzymes like cathepsins work slowly in controlled heat, breaking down connective tissue into gelatin. This creates a buttery texture that high-heat methods can’t replicate. Whether you prefer ribeyes or filets, consistency becomes guaranteed, not accidental.
Equipment Essentials for a Successful Sous Vide Experience
Great tools elevate cooking from functional to phenomenal. For consistent results, focus on three core components: a precision cooker, reliable sealing tools, and a heavy-duty pan for finishing. Quality gear ensures your efforts translate into restaurant-worthy meals every time.
Choosing the Right Precision Cooker
Immersion circulators like the Anova Precision Cooker dominate home kitchens for good reason. They offer ±0.1°F accuracy and Bluetooth connectivity, letting you monitor the water bath remotely. Budget-friendly alternatives exist, but prioritize models with robust clamps and quiet operation.
Pair your cooker with a durable container. Stainless steel pots or food-grade plastic bins work best. Avoid thin-walled vessels, as they lose heat quickly, forcing the device to overwork.
Tools for Sealing and Finishing Your Steak
Sealing locks in juices and prevents leaks. Vacuum sealers create airtight environments, ideal for long cooks. For shorter sessions, the water displacement method works: lower a zip-top bag into the bath, letting pressure expel air before sealing.
Post-cook, a blazing-hot cast iron skillet delivers that crisp crust. Its even heat distribution prevents cold spots, ensuring uniform browning. Pair it with sturdy tongs and an instant-read thermometer for flawless execution.
Pro tip: Skip butter in the bag; it mutes flavors. Instead, add fresh garlic or cracked pepper directly to the meat before sealing.
Prepping Your Steak: Cuts, Seasoning, and Preparation
Every exceptional meal begins with thoughtful preparation. For precision cooking, this means choosing the right ingredients and techniques to maximize flavor and texture. Let’s break down the essentials for creating a memorable dining experience.
Selecting the Ideal Cut for Precision Cooking
Thicker cuts, ideally 1½ to 2 inches, are your best bet. They retain moisture better during extended cooking times and develop a richer crust when seared. Ribeyes shine with their marbling, while strips offer balanced tenderness. Leaner options like tenderloin work too, but require closer temperature monitoring.
Seasoning Strategies for Optimal Results
Timing matters with salt. Apply it just before sealing or after cooking to prevent a cured texture. Freshly cracked pepper adds depth without overpowering. For aromatic flair, toss rosemary or garlic into the bag. Pat meat dry post-cook to ensure that the golden-brown finish sticks.
Pro chefs recommend vacuum-sealed bags for even heat distribution. If using zip-top bags, push out air slowly to avoid leaks. Remember: proper prep sets the stage for perfection.
Sous vide steak recipe, how to sous vide, perfect steak guide,
Transforming ordinary ingredients into culinary masterpieces requires a blend of science and technique. This approach separates itself from traditional methods through its predictable, foolproof execution, no more crossed fingers or temperature guesswork.
An Overview of the Two-Phase Process
First, immerse seasoned meat in a sealed bag within a precisely heated water bath. This environment cooks proteins evenly while preserving natural juices. Thicker cuts benefit from extended exposure: 1½ hours for 1-inch slabs, up to 3 hours for 2-inch slabs.
Key advantages emerge here:
- Air-free sealing prevents oxidation, keeping flavors vibrant
- Consistent heat breaks down connective tissue without overcooking
- Flexible timing lets you pause after phase one
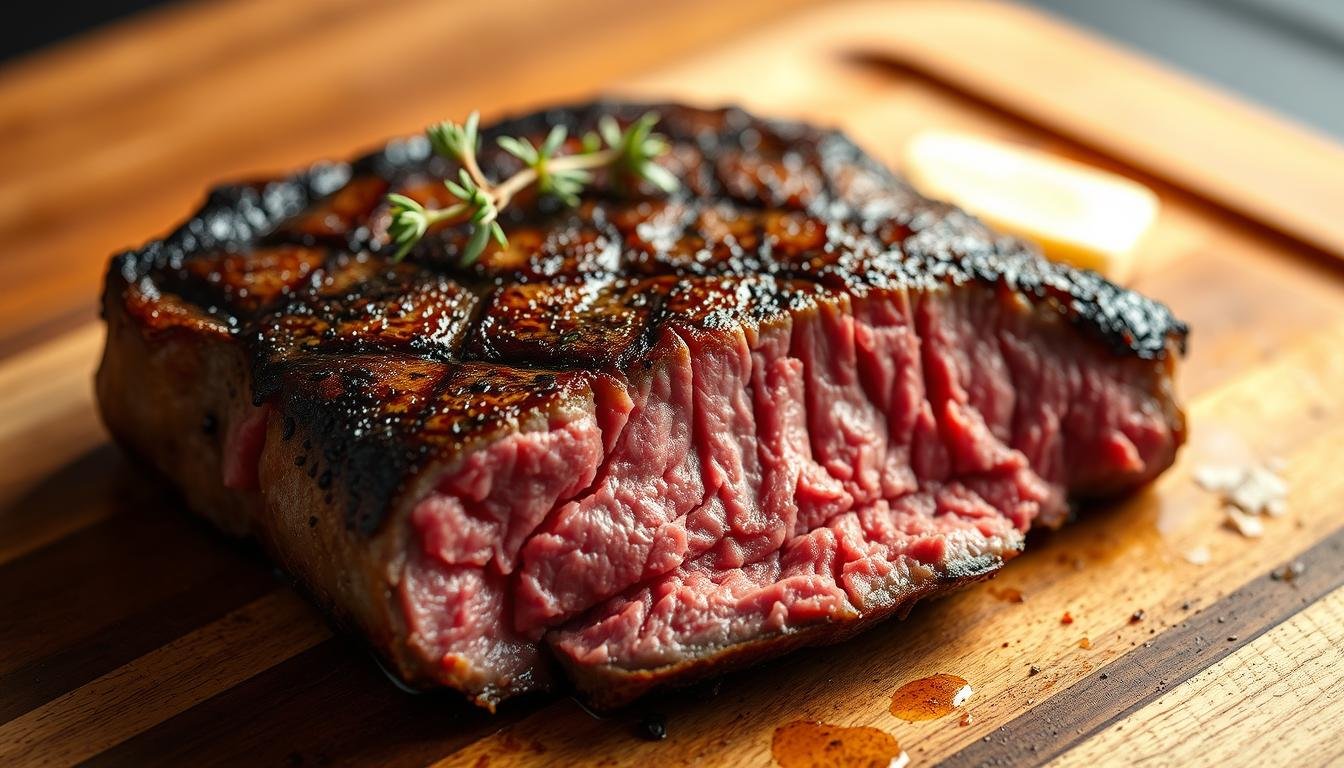
The final sear lasts just 60-90 seconds per side. A scorching cast-iron pan or culinary torch creates that coveted crust through rapid Maillard reactions. Pat meat dry beforehand; moisture is the enemy of caramelization.
This dual-stage method gives you absolute command over texture and doneness. Whether aiming for buttery tenderness or robust chewiness, precision in both phases ensures exactly what your palate desires.
Mastering Temperature and Timing for Consistent Results
The harmony of time and heat defines precision cooking. Exact settings eliminate guesswork, ensuring every meal meets expectations. Whether aiming for a tender bite or robust texture, control over these variables separates good results from exceptional ones.
Key Temperature Ranges for Different Doneness
Serious Eats studies confirm that even a 5°F shift alters texture dramatically. Below are optimal ranges based on USDA guidelines and culinary expert trials:
| Doneness | Temperature Range | Texture Profile |
|---|---|---|
| Rare | 120–125°F | Soft, deep red center |
| Medium-Rare | 130–135°F | Balanced tenderness |
| Medium | 135–145°F | Firm with pink hues |
| Medium-Well | 145–155°F | Slight pink, dense |
| Well-Done | 155°F+ | Uniformly firm |
Optimizing Cooking Times Based on Cut Thickness
Thicker slabs need longer exposure to heat. A 1-inch ribeye reaches core temperature in 90 minutes, while a 2-inch cut may require 3 hours. Extended sessions (4+ hours) break down collagen further, creating melt-in-your-mouth tenderness.
For best results:
- 1-inch cuts: 1–2 hours
- 1.5-inch cuts: 2–3 hours
- 2-inch cuts: 3–4 hours
Remember: Timing flexibility allows adjustments without sacrificing quality. Set your device, and let science handle the rest.
Sous Vide Steak Recipe: Foolproof Technique for Tender, Juicy Results Every Time
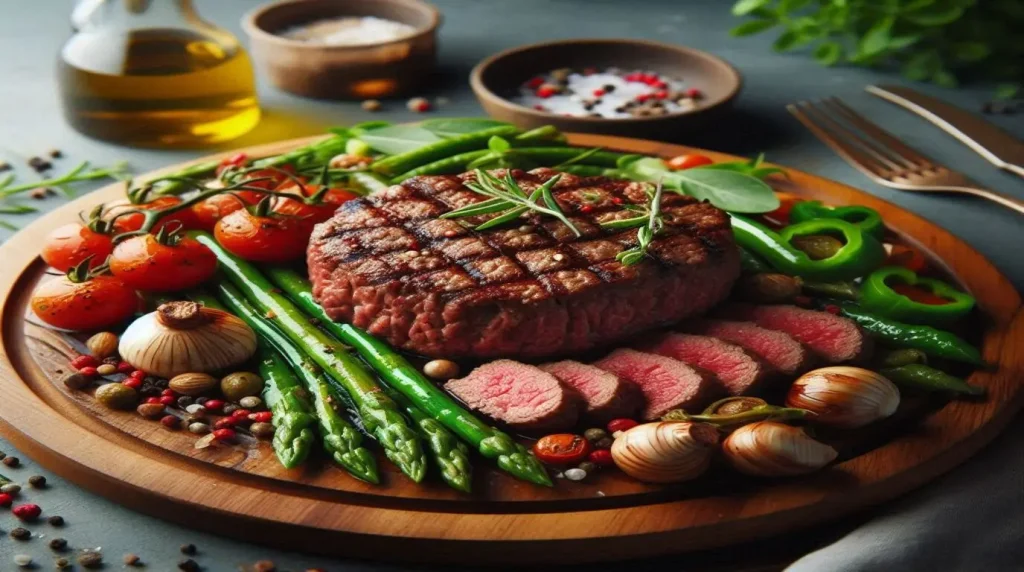
Sous vide steak is the ultimate way to achieve steakhouse-quality results with minimal effort. By cooking your steak in a precisely controlled water bath, you can lock in juices and flavor while guaranteeing consistent doneness from edge to edge. Whether you prefer rare or medium-well, sous vide takes the guesswork out of cooking and delivers perfectly tender, juicy steak every time. This method is ideal for beginners and pros alike. Just season, seal, cook, and sear.
Ingredients
- 2 boneless steaks (ribeye, striploin, filet mignon: about 1 to 1.5 inches thick)
- Kosher salt and freshly ground black pepper, to taste
- 2 cloves garlic (smashed)
- 2 sprigs fresh rosemary or thyme
- 1 tablespoon neutral oil (e.g., canola, grapeseed) for searing
- Optional: 1 tablespoon butter for final service.
Preparation & Technique
- Season both sides of each steak generously with salt and pepper.
- Bag the steaks: Place each one in a vacuum-seal bag or a freezer-grade zip-top bag. Add a garlic clove and an herb sprig to each. Use a vacuum sealer or the water displacement method to seal.
- Preheat your sous vide cooker to the desired internal temperature:
- Rare: 125°F / 52°C
- Medium-rare: 130°F / 54°C
- Medium: 135°F / 57°C
- Medium-well: 145°F / 63°C
- Cook the bagged steaks in the water bath for 1.5 to 2.5 hours. They can remain in the bath safely for up to 4 hours if needed.
- Remove the steaks from the bags and pat them completely dry; this step is key for a good sear.
- Sear in a hot skillet over high heat with oil for 30–60 seconds per side, pressing gently for even browning. Optionally, add butter and spoon it over the steak in the last moments for enhanced flavor.
- Rest briefly, slice against the grain, and serve.
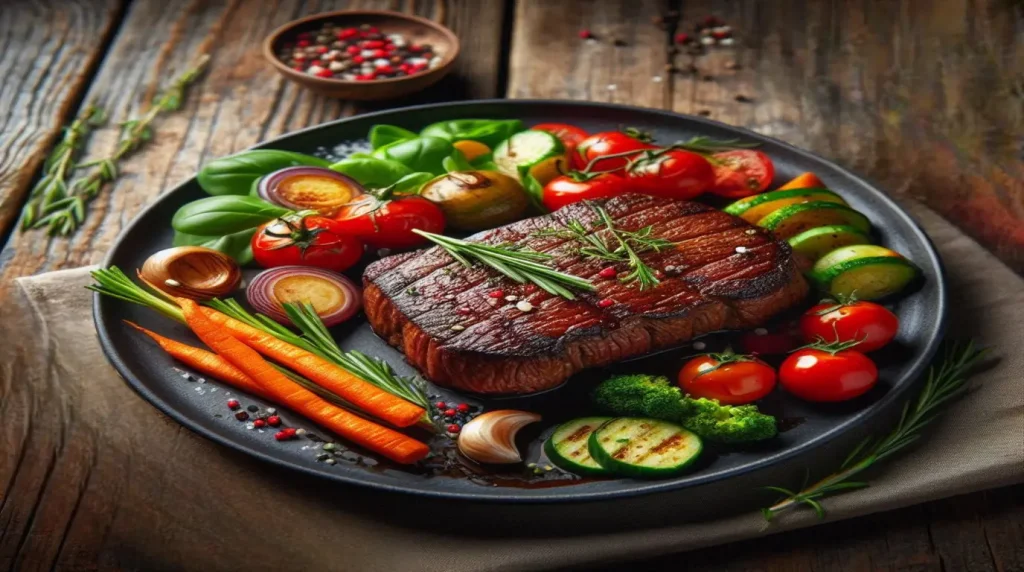
Pro Tip
Dry the steak thoroughly before searing. Moisture on the surface creates steam, which prevents a crisp, golden-brown crust. For best results, chill the steak in the fridge for 10 minutes after sous vide and before searing it enhances browning even more.
Achieving the Perfect Sear Post-Sous Vide
The final sear transforms tender meat into a culinary masterpiece. This step locks in juices while creating a caramelized exterior that contrasts beautifully with the melt-in-your-mouth interior. Master these techniques to elevate your dish from great to unforgettable.
Skillet Searing Techniques for Maximum Flavor
Always pat your protein dry with paper towels before searing. Moisture prevents browning, dry surfaces ensure rapid Maillard reactions. Heat a heavy skillet until smoking, then add high-smoke-point oil like avocado or grapeseed.
Place the meat in the pan, pressing gently with tongs. Flip every 15-30 seconds for even color. This frequent turning prevents burnt spots while building complex flavors. For added richness, toss butter and crushed garlic into the pan during the last flip, basting constantly.
Using a Torch for an Enhanced Crust
Propane torches offer precision for hard-to-reach edges. Hold the flame 2-3 inches from the surface, moving steadily to avoid charring. Combine this method with skillet searing for multidimensional texture.
| Method | Tools | Time | Key Benefit |
|---|---|---|---|
| Skillet | Cast iron pan | 60-90 sec/side | Even browning |
| Torch | Butane/propane | 30-45 sec/area | Edge precision |
Safety first: Work in ventilated areas and keep flammable items away. Monitor heat levels closely, overcrowding pans drops temperatures rapidly. With practice, this process becomes second nature.
Alternative Finishing Methods: Grill and Other Techniques
Fire-kissed flavor adds a new dimension to precision-cooked proteins. While skillet searing delivers crispness, grilling introduces smoky complexity that elevates your dish. This method works seamlessly with pre-cooked cuts, offering versatility for outdoor enthusiasts.
Grilling Tips to Develop a Rich, Smoky Sear
Start by preheating your grill to 500°F. Brush grates with avocado oil to prevent sticking. Pat meat dry thoroughly, moisture hinders caramelization. Place cuts diagonally across the grates for eye-catching grill marks.
Flip every 30 seconds using long-handled tongs. This rapid turning builds layers of flavor without burning. For thicker slabs, rotate 90 degrees halfway through to create crosshatch patterns. Monitor edges closely to avoid uneven charring.
Combine grilling with a quick pan finish for multidimensional texture. Sear over coals first, then transfer to a cast iron skillet with butter for basting. This hybrid approach merges smokiness with buttery richness.
| Method | Heat Source | Time per Side | Flavor Profile |
|---|---|---|---|
| Grill Only | Charcoal/Gas | 45-60 seconds | Bold, smoky |
| Grill + Skillet | Combination | 30 seconds each | Complex, layered |
Adjust timing based on thickness: 1-inch cuts need 60 seconds total, while 2-inch slabs benefit from 90 seconds. Let the meat rest 3 minutes before slicing to redistribute juices. Pair with chimichurri or horseradish cream for contrast.
Comparing Sous Vide and Traditional Steak Cooking Methods
Choosing between modern and classic techniques shapes your culinary outcomes. High-heat methods like grilling or pan-searing deliver bold crusts but often uneven doneness. Precision-driven approaches excel in consistency, though they require different tools and timing.
Traditional methods create thicker crusts through rapid Maillard reactions. However, studies by J. Kenji López-Alt reveal they produce temperature gradients; overcooked edges masking underdone centers. In contrast, sous vide maintains uniform heat, ensuring edge-to-edge accuracy in every bite.
Key differences emerge in moisture retention. Sealed bags trap juices during low-temperature cooking, while open-air methods lose up to 25% of natural fats. This makes precision techniques ideal for lean cuts prone to drying out.
| Method | Control | Texture | Equipment |
|---|---|---|---|
| Sous Vide | Exact temperature | Buttery | Immersion circulator |
| Traditional | Visual cues | Charred exterior | Skillet/grill |
Time investment varies significantly. Precision cooking demands longer sessions but minimal supervision. Grilling requires active monitoring, yet finishes faster. Both approaches shine when aligned with your priorities, consistency versus spontaneity.
Ultimately, success hinges on execution. A well-preheated cast iron pan elevates traditional searing, while proper resting ensures juicy results in either method. Choose based on your tools, schedule, and desired flavor profile.
Troubleshooting Common Sous Vide Challenges
Even with precise tools, occasional hiccups can arise. Recognizing these issues early ensures your efforts yield flawless results every time. Let’s explore solutions to frequent obstacles and restore confidence in your process.
Addressing Overcooking and Texture Variations
Extended time in the water bath can turn tender cuts mushy. For thicker slabs, limit sessions to 3-4 hours at 130°F or higher. Lean proteins like filet mignon need closer monitoring, set timers to avoid accidental overprocessing.
If meat feels rubbery, check your device’s calibration. A ±2°F error dramatically alters outcomes. Use an independent thermometer to verify accuracy monthly.
Fixing Common Searing Issues
A weak crust often stems from excess moisture. Pat the meat thoroughly with paper towels before searing. Heat your pan until the oil shimmers, then press the cuts firmly with tongs for full contact.
Uneven browning? Rotate the protein every 15 seconds. For stubborn spots, finish edges with a culinary torch. Avoid overcrowding the pan, space allows consistent heat distribution.
| Issue | Solution | Tool |
|---|---|---|
| Pale crust | Dry meat, higher heat | Cast iron skillet |
| Overcooked interior | Shorten bath time | Timer |
| Sticking | Oil grates/pan | Avocado oil |
Adjust techniques based on thickness. Thin cuts sear faster: 45 seconds per side often suffices. Let meat rest 2-3 minutes post-sear to lock in juices before slicing.
Enhancing Flavor with Aromatics and Resting Techniques
Flavor elevation begins long before the first bite. Strategic use of herbs and spices amplifies the natural richness of proteins, while brief resting periods ensure every element shines. Let’s explore how small tweaks create outsized impacts.
Integrating Herbs and Spices Effectively
Fresh thyme, rosemary, or garlic cloves infuse subtle complexity during cooking. Add them to the bag after seasoning with salt and pepper, this prevents bitter notes from overpowering the meat. Delicate herbs like tarragon work best when sealed tightly to avoid floating.
Timing matters with aromatics. Fragile spices (paprika, crushed peppercorns) integrate better post-cooking, while hardy stems (bay leaves, rosemary) withstand extended heat exposure. For garlic, slice thinly to release flavor without overwhelming the dish.
Seasoning before versus after cooking changes outcomes:
- Pre-cook: Salt penetrates deeper but risks curing textures
- Post-cook: Bright, fresh flavors pop on the surface
After searing, let the cuts rest 2-3 minutes. This brief pause lets juices redistribute, ensuring each slice stays succulent. Sprinkle flaky sea salt at the table for a crunchy, savory finish that elevates every bite.
Sous Vide Steak Conclusion
Elevating home cooking to restaurant standards is simpler than it seems. By combining precise temperature control with a quick finishing step, this method ensures edge-to-edge perfection every time. The two-phase approach, gentle cooking in a sealed bag followed by a sizzling sear, locks in juices while creating that crave-worthy crust.
Success hinges on proper tools and timing. A reliable immersion circulator and heavy skillet are non-negotiable. Pair them with accurate settings for your preferred doneness and patience during the resting phase. Whether you prefer rare or medium, consistency becomes effortless.
Don’t hesitate to experiment. Adjust seasoning blends, try different oils, or swap skillet-searing for grill marks. The techniques shared here adapt to any kitchen style. Remember: troubleshooting tips like drying meat thoroughly or rotating with tongs ensure flawless execution.
Ready to transform your meals? Grab your gear, set the timer, and let science handle the rest. Share your creations and inspire others to master this game-changing culinary skill.